Switch Lubing Guide
Looking for a way make your switches oh-so-smooth in both sound and feel?
Just follow these easy steps:
Step 1. Open your switch
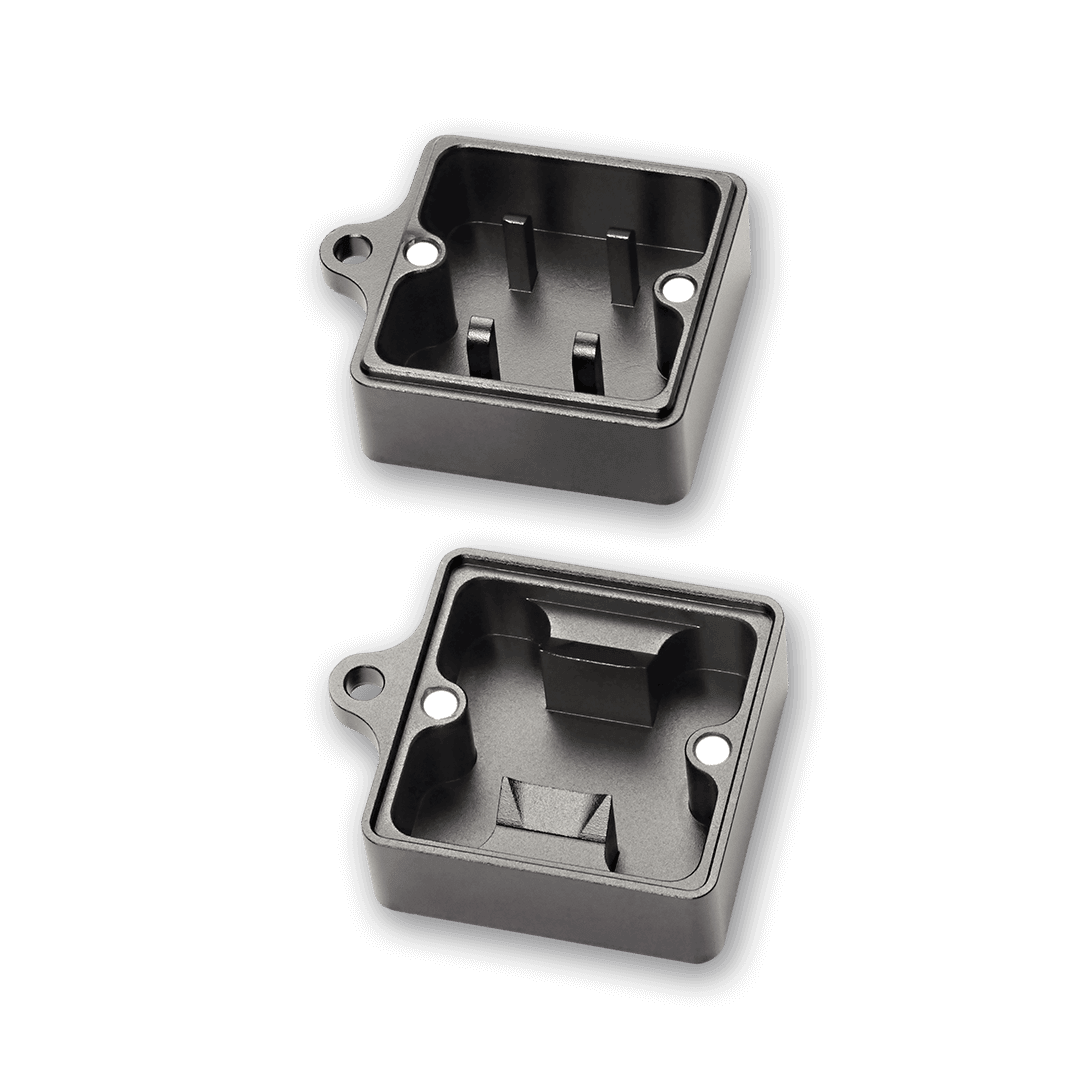
To open a switch, first open the switch opener. Align the clips on the sides of the switch with the prongs on the corresponding side of the switch opener. Gently push the switch down until the housing comes apart and separate the individual switch parts (upper housing, lower housing, spring, stem).
When working on an entire keyboard’s worth of switches, we highly recommend using a lube station to keep your parts organized.
Step 2: Lubing the lower housing and spring
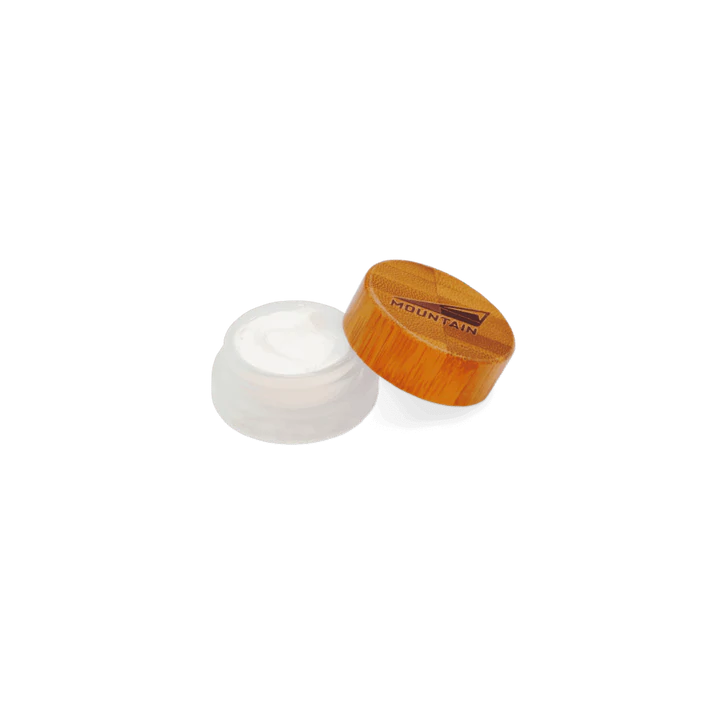
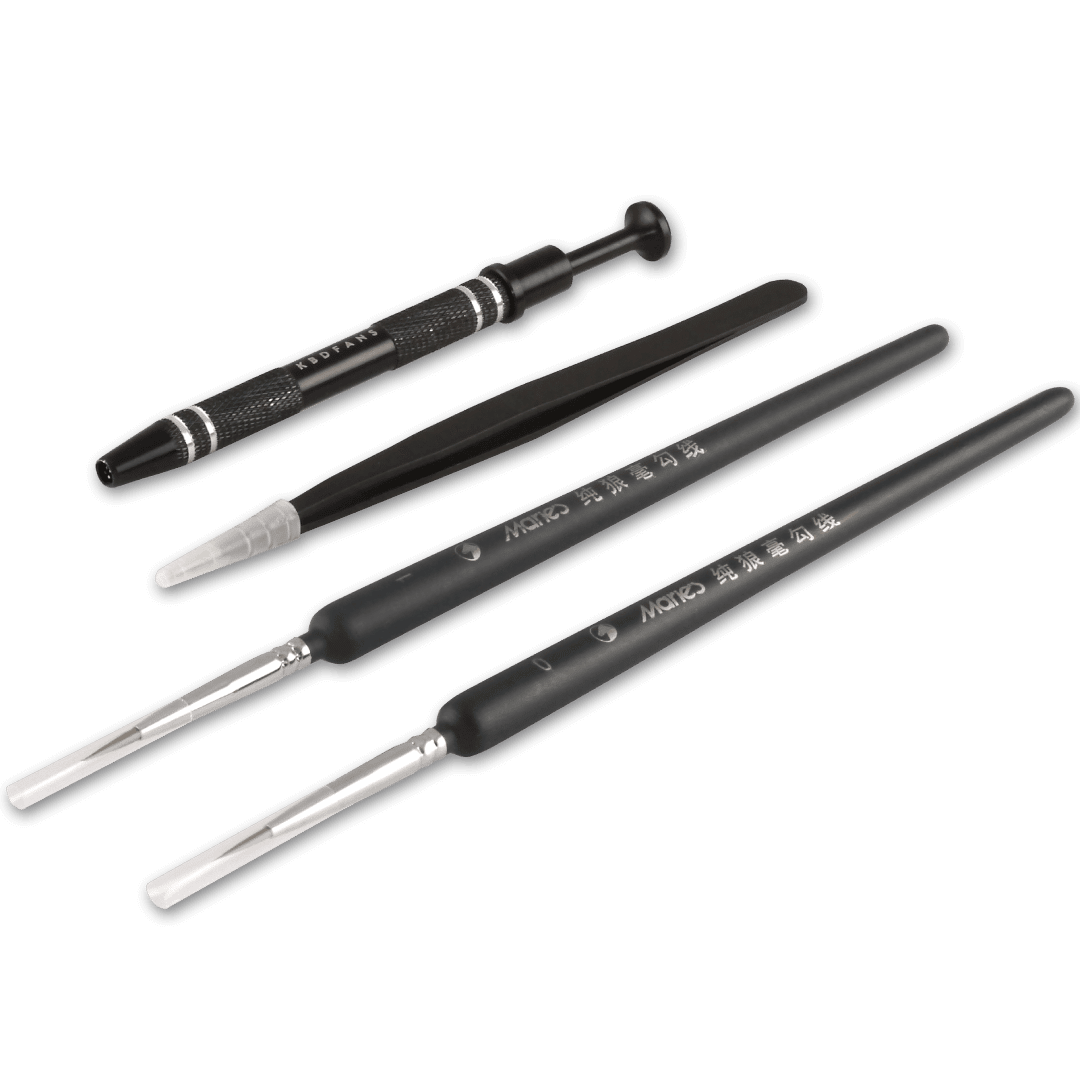
Let the lubing begin! We recommend using enthusiast the gold standard Glaze GPL 205. To properly apply the lube use a brush, pick up a tiny amount of lube with your brush. Less is more, as you can always apply more lube later on if desired. The initial amount of lube on the brush shouldn’t exceed half a switch pin’s size.
Pick up the lower housing and apply about 50% of the lube on your brush on each of the two rails in which the stems slides up and down. Evenly spread the lube and spread excess lube around the pole in the center where the spring would sit. Make sure to spread lube until none if its white coloring remains.
Place the spring inside the lower housing part you have already lubricated with the side of the spring you just worked on sitting on the pole in the housing.
Collecting the same amount of lube we can now begin lubing the spring. Transfer approx. 50% of the lube on the brush to one end of the spring and spread it evenly both on the inside and outside on one end of the spring.
Step 3: Lubing the stem
Time for the stem! In order this step a lot easier you can use a stem holder to easily grab it by the cross pattern, once your ready, pick up the same amount of lubricant with your brush as in previous steps.
Transfer 50% of the lube on your brush to both the right and left side of the stem and coat these sides evenly until none of the lubricant’s white coloring remains. Any excess material can be applied to the front and the back of the stem’s body, and around the pole underneath.
A NOTE ON STEM LEGS
Stem legs are the tiny bits of plastic sticking out to the front side. These parts make contact with the leaf inside the switch that would trigger the actuation. With linear switches, it’s usually fine to lube these legs as well but please note that with tactile switches, you may alter the tactility of the switch by lubing the legs. We recommend testing this on a single switch first to see if it has the desired result.
Step 4: Reassembly
Finished lubing your switches? Time to reassemble the switch.
Start by placing the stem on the spring in the lower housing so that the stem’s leg is on the side of the metal leaf.
Next, place the upper housing back on the stem while aligning the large opening with the lower housing to ensure that light can shine through it and genetly push it down.
Check to see if the clips on both sides connect firmly and you’re good to go.
Success!
You’ve just lubricated your first switch! Install it on your keyboard next to a stock switch of the same type to feel and hear the difference. If you feel the lube application was too light, simply repeat the process until you’ve reached smooth summit.


