AFFORDABLE SWITCH & KEYCAP TUNING

Previously we’ve covered how to find your favorite keycaps, and how to lube your switches for an extra buttery smooth feel and sound. But are there faster and alternative ways? Yes! In this little guide, we’d like to introduce you to two additional methods of tuning: using O-rings and switch films.
O-rings
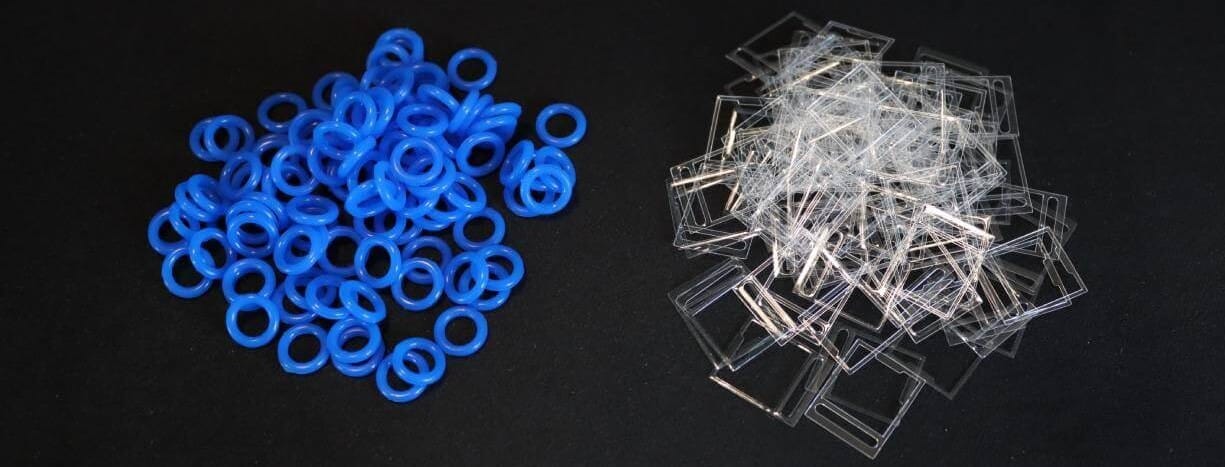
A quick, affordable and easy way to fine-tune your keyboard experience are O-rings. These small rubber pieces go between your switch and your keycap, effectively reducing harsh sounds that can occur when bottoming-out your switch. In addition, they make for a more soft and cushioned typing feel.
All you need is said set of O-rings and a keycap puller to safely remove the keycaps from your switches.
Assembly couldn’t be easier:
1. Remove the keycap
2. Place the o-ring over the stem of the key
3. And place the keycap back on the switch
You can install one or more O-ring per switch, entirely depending on your personal preference.
Here’s what that does for you; the F key does not have an O-ring installed and the G and H keys have one and two O-rings installed respectively.
Switch films
Some switches have looser tolerances than others, making for a “wobbly” feeling when pressing it. The stem has some move, and the not-so-tight connection between upper and lower housings add to vibration and audio volume. Switch films are thin layers of foam or polycarbonate that are to be placed between the upper and lower housings of your switches. Switch films fill that gap, creating a tighter fight between the individual switch housing parts, resulting in a firmer typing feel and more muted, deeper sound profile. Please note that these films are compatible only with Cherry MX style switches, this excludes Kailh Box switches. Some switches do not benefit from switch films at all, due to tight tolerances. This is true for a lot of Gateron switches, whereas some JWK or Durock switches are greatly improved after “filming”.
What do you need to install switch films? In addition to the switches you want to tune, all you’ll need is a switch opener and enough switch films, one film per switch should be enough. Optional but very handy is a set of tweezers, such as the one included in our lube tool kit.
Here’s how it’s done:
1. Open the switch, putting all parts aside leaving you with the lower housing
2. Place the switch film on top of the lower housing making sure it’s orientated the right way
3. Reassemble the switch and close it carefully making sure the film stays in place.
No switch films should stick out on either side after closing the switch
That’s not too difficult is it?
Let’s look at the result; the G key uses a regular switch, whereas the H key uses a switch film.
What’s the best way to tune your keyboard?
The answer lies in your personal preference and amount of time and effort you’re willing to spend. O-rings can be the cherry on top if you prefer a more cushioned button actuation experience, they’re easy and quick to install with the use of a keycap puller. Switches with loose housings benefit from filming though, if you have the time, we also highly recommend lubing them as it yields the best result. Lubing is typically the most time consumer but while adding the switch films you will have the switches disassembled anyway.